Note
Go to the end to download the full example code.
HDF5 Composite CAE#
The HDF5 Composite CAE interface of PyACP is demonstrated in this example. It shows how to write (export) and read (import) layup data to and from a HDF5 Composite CAE file, respectively. The HDF5 Composite CAE format is a vendor independent format to exchange composite layup information between CAE tools.
This examples demonstrates how to:
- Load and manipulate a model
- Export data to a HDF5 Composite CAE file
- Import and map layup from HDF5 Composite CAE onto a different model (mesh)
- Export data with ply offsets (3D plies)
- Import a layup as ImportedModelingPly
- Import HDF5 Composite CAE with 3D plies and map the layup onto an ImportedSolidModel
Import the standard library and third-party dependencies.
import pathlib
import tempfile

import pyvista
Import the PyACP dependencies.
from ansys.acp.core import (
    HDF5CompositeCAEProjectionMode,
    LinkedSelectionRule,
    OffsetType,
    launch_acp,
)
from ansys.acp.core.extras import (
    FLAT_PLATE_SHELL_CAMERA,
    FLAT_PLATE_SOLID_CAMERA,
    ExampleKeys,
    get_example_file,
    set_plot_theme,
)
Set the plot theme for the example. This is optional, and ensures that you get the same plot style (theme, color map, etc.) as in the online documentation.
set_plot_theme()
Start ACP and load the model#
Get the example file from the server.
tempdir = tempfile.TemporaryDirectory()
WORKING_DIR = pathlib.Path(tempdir.name)
acph5_input_file = get_example_file(ExampleKeys.BASIC_FLAT_PLATE_ACPH5, WORKING_DIR)
Launch the PyACP server and connect to it.
acp = launch_acp()
Load the model from an acph5 file
model = acp.import_model(acph5_input_file)
Crop some plies in order to generate a variable laminate
pr_x = model.create_parallel_selection_rule(
    name="x axis",
    direction=(1, 0, 0),
    lower_limit=0.0025,
    upper_limit=0.0075,
)
pr_z = model.create_parallel_selection_rule(
    name="z axis",
    direction=(0, 0, 1),
    lower_limit=0.0015,
    upper_limit=0.0085,
)
boolean_rule = model.create_boolean_selection_rule(
    name="boolean rule",
    selection_rules=[LinkedSelectionRule(pr_x), LinkedSelectionRule(pr_z)],
)

for ply_name in ["ply_1_45_UD", "ply_2_-45_UD", "ply_3_45_UD", "ply_4_-45_UD"]:
    ply = model.modeling_groups["modeling_group"].modeling_plies[ply_name]
    ply.selection_rules = [LinkedSelectionRule(boolean_rule)]

model.update()
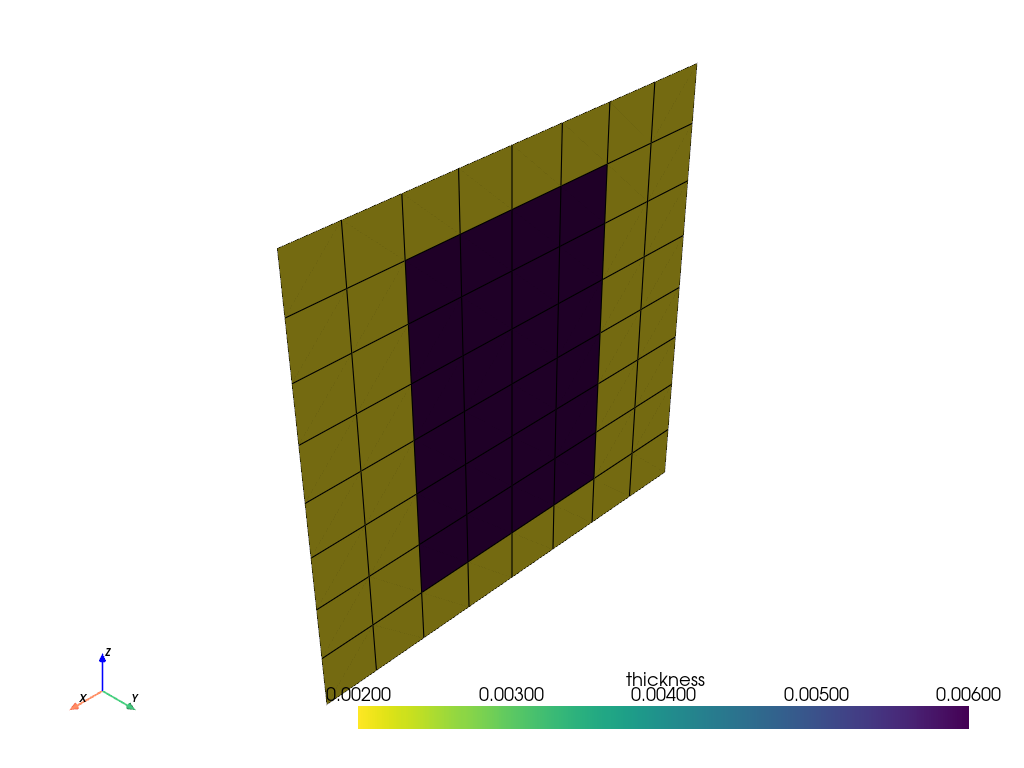
Plot the thickness distribution
thickness = model.elemental_data.thickness
assert thickness is not None
thickness.get_pyvista_mesh(mesh=model.mesh).plot(show_edges=True)

Write HDF5 Composite CAE file#
Export the entire layup to a HDF5 Composite CAE file.
h5_output_file = WORKING_DIR / "hdf5_composite_cae.h5"
model.export_hdf5_composite_cae(
    path=h5_output_file,
)
Load HDF5 Composite CAE file into a different model#
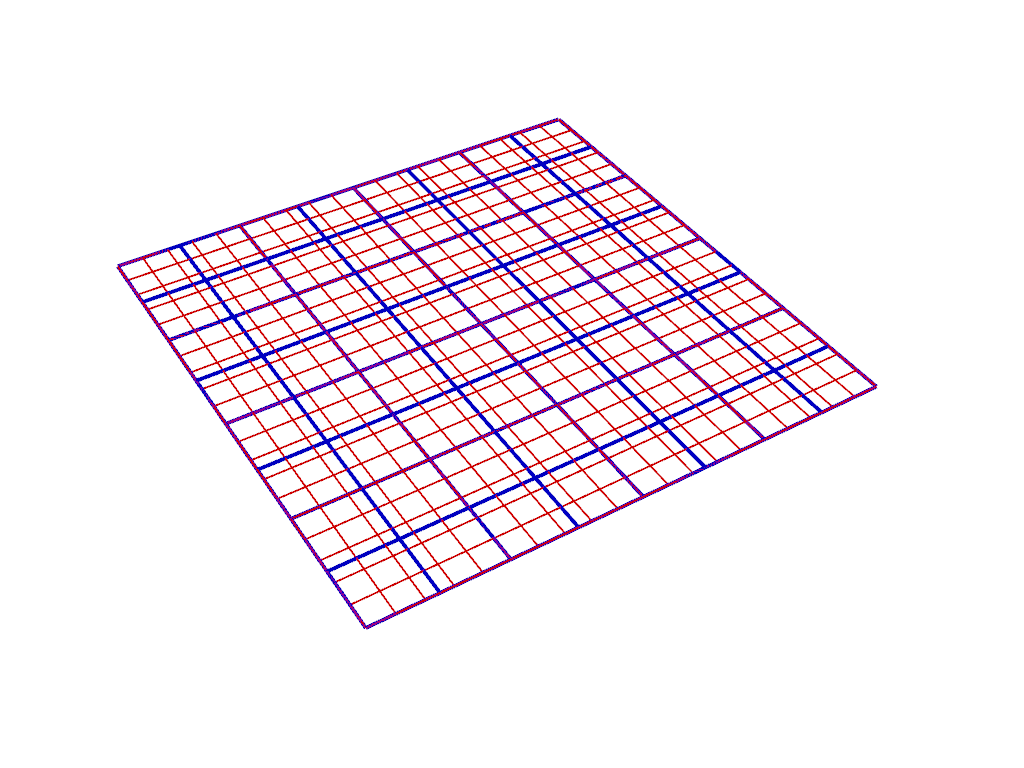
A new acp model is created by importing a refined mesh of the same geometry. Both meshes (initial mesh in blue, refined one in red) are shown below.
dat_input_file_refined = get_example_file(ExampleKeys.BASIC_FLAT_PLATE_REFINED_DAT, WORKING_DIR)
refined_model = acp.import_model(path=dat_input_file_refined, format="ansys:dat")

plotter = pyvista.Plotter()
plotter.add_mesh(
    model.shell_mesh.to_pyvista(),
    color="blue",
    edge_color="blue",
    show_edges=True,
    style="wireframe",
    line_width=4,
)
plotter.add_mesh(
    refined_model.shell_mesh.to_pyvista(),
    color="red",
    edge_color="red",
    show_edges=True,
    style="wireframe",
    line_width=2,
)
plotter.camera_position = FLAT_PLATE_SHELL_CAMERA
plotter.show()

Import the HDF5 Composite CAE file which is then automatically mapped onto the refined mesh. In this example, the default settings (tolerances, etc.) are used.
refined_model.import_hdf5_composite_cae(
    path=h5_output_file,
)
refined_model.update()
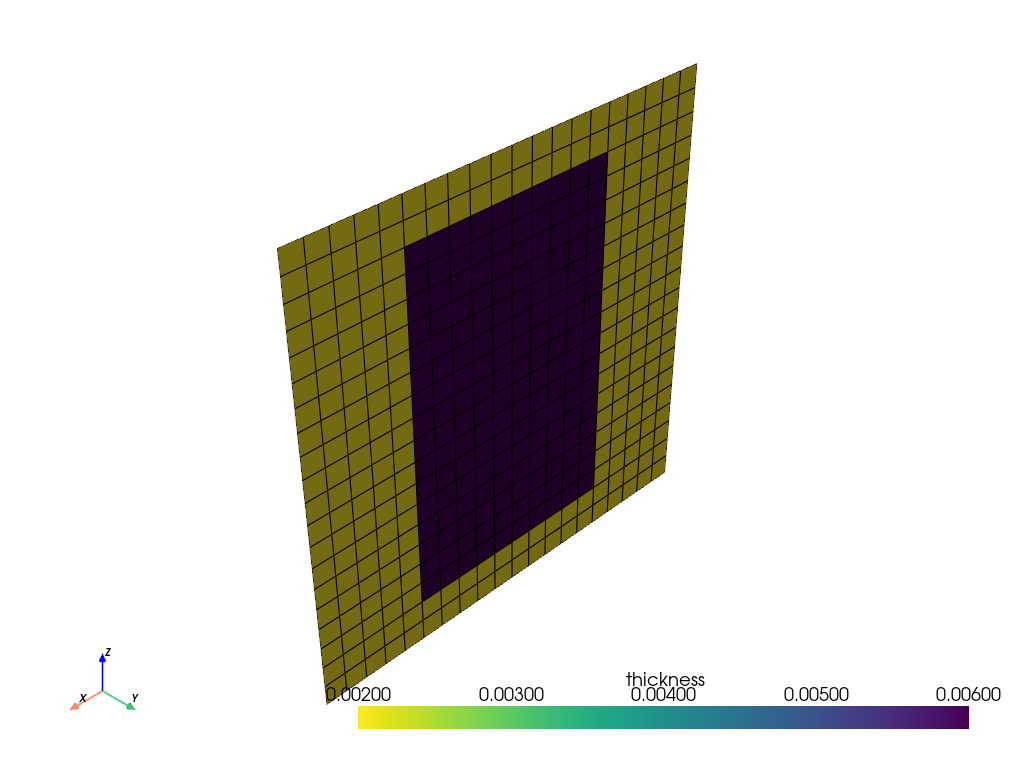
Plot the thickness distribution on the refined model
thickness = refined_model.elemental_data.thickness
assert thickness is not None
thickness.get_pyvista_mesh(mesh=refined_model.mesh).plot(show_edges=True)

3D plies with ply-offsets#
The HDF5 Composite CAE interface also allows to export the 3D plies
(plies with offsets) which can then be used to create
imported modeling plies. The initial model is used to
write a new HDF5 with layup_representation_3d enabled.
h5_output_file_3D = WORKING_DIR / "hdf5_composite_cae_3D.h5"
model.export_hdf5_composite_cae(
    path=h5_output_file_3D,
    layup_representation_3d=True,
    offset_type=OffsetType.BOTTOM_OFFSET,
)
A new acp model is created to properly separate the different workflows.
refined_model_3D = acp.import_model(path=dat_input_file_refined, format="ansys:dat")
refined_model_3D.import_hdf5_composite_cae(
    path=h5_output_file_3D, projection_mode=HDF5CompositeCAEProjectionMode.SOLID
)
An imported solid model is required for the 3D workflow (with imported modeling plies).
Details about ImportedSolidModel and ImportedModelingPly can be found
in the examples Imported solid model and Imported ply.
local_solid_mesh_file = get_example_file(ExampleKeys.BASIC_FLAT_PLATE_SOLID_MESH_CDB, WORKING_DIR)
remote_solid_mesh_file = acp.upload_file(local_solid_mesh_file)
imported_solid_model = refined_model_3D.create_imported_solid_model(
    name="Imported Solid Model",
    external_path=remote_solid_mesh_file,
    format="ansys:cdb",
)
The LayupMappingObject is used to configure the mapping of the imported plies
onto the imported solid model.
imported_solid_model.create_layup_mapping_object(
    name="Map imported plies",
    use_imported_plies=True,  # enable imported plies
    select_all_plies=True,  # select all plies
    scale_ply_thicknesses=True,
    entire_solid_mesh=True,
    delete_lost_elements=True,  # elements without plies are deleted
)
refined_model_3D.update()
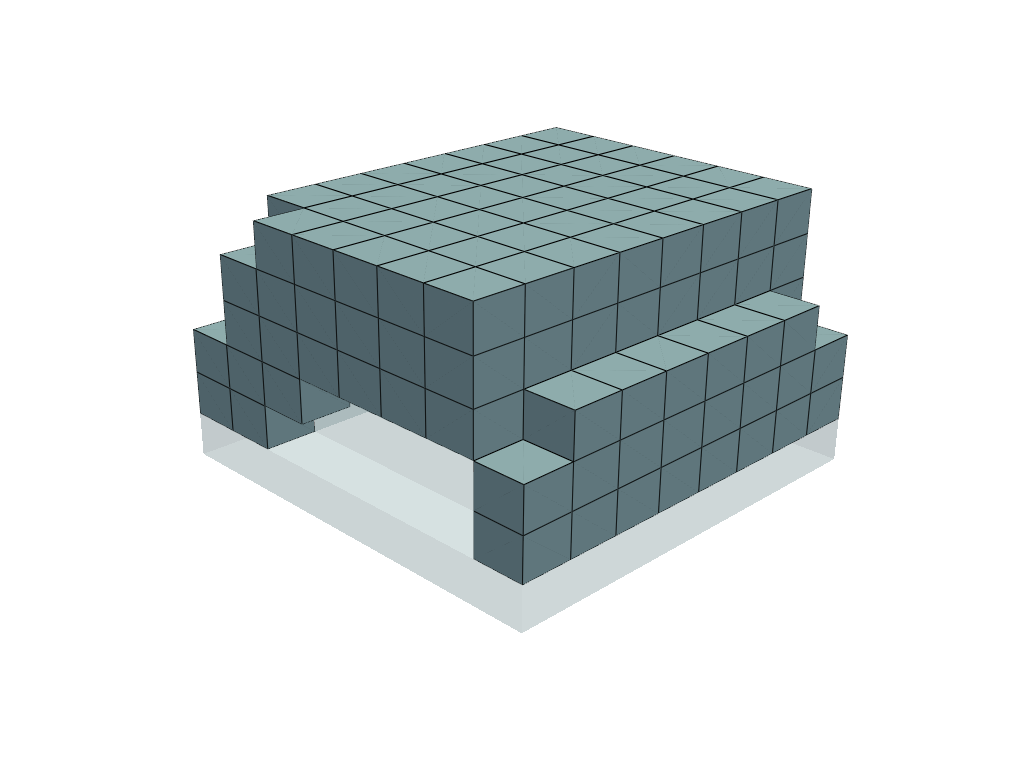
The mapped top layer of the imported laminate is shown below. Note that the solid elements which do not intersect with the layup are deleted in this example.
imported_analysis_ply = (
    refined_model_3D.imported_modeling_groups["modeling_group"]
    .imported_modeling_plies["ply_5_0_UD"]
    .imported_production_plies["ImportedProductionPly.6"]
    .imported_analysis_plies["P1L1__ply_5_0_UD"]
)
plotter = pyvista.Plotter()
plotter.add_mesh(imported_analysis_ply.solid_mesh.to_pyvista(), show_edges=True)
plotter.add_mesh(refined_model_3D.solid_mesh.to_pyvista(), opacity=0.2, show_edges=False)
plotter.camera_position = FLAT_PLATE_SOLID_CAMERA
plotter.show()

Note that the visualization of imported plies and imported solid model is limited. As an alternative, you can save the model and review it in ACP standalone.
Total running time of the script: (0 minutes 6.050 seconds)

